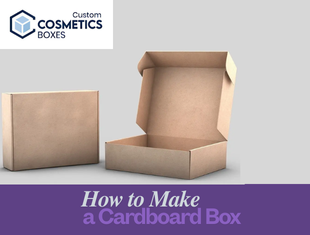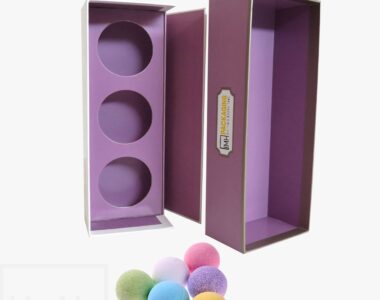
Cardboard boxes are an essential tool for packaging a wide range of products, from shipping goods to presenting artisanal items. If you are looking for an eco-friendly, customizable packaging option for your products, making your own cardboard boxes is a rewarding and sustainable project. Cardboard soap sleeves, for example, provide a simple, stylish, and eco-friendly way to present handmade soaps. Here’s a detailed guide on how to create your very own cardboard box in 11 easy steps.
1. Choose Your Cardboard
The first step is selecting the right type of cardboard. Depending on what you’re planning to store in the box, choose a cardboard thickness that will provide the necessary strength and durability. Single-ply cardboard is often used for lighter products, while double-ply or corrugated cardboard is best for heavier items or for added protection.
- Tip: If you are making boxes for fragile items like cosmetics or glassware, consider double-ply cardboard for extra protection.

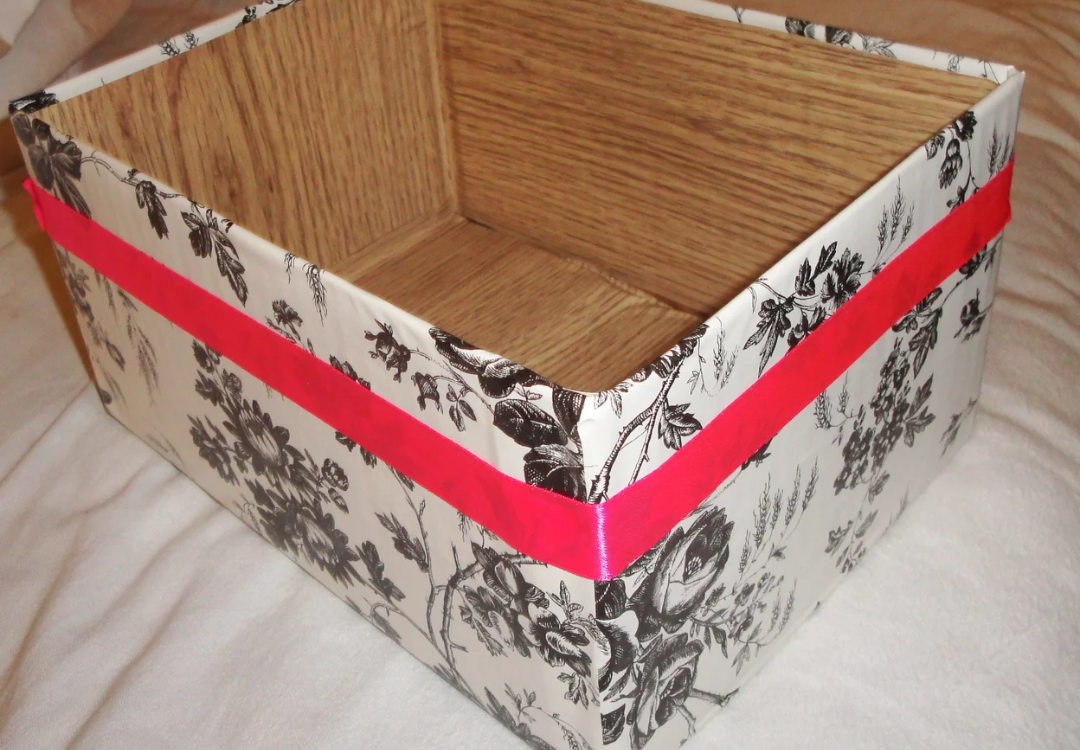
2. Decorate if Desired
Before you start cutting, it’s a good idea to decorate the cardboard if you’re planning to use it for gifts or presentation purposes. This could include painting, applying stickers, or even stamping your brand’s logo onto the cardboard for a personalised touch.
- Tip: Customising your box at this stage prevents smudging or damaging your decoration during the folding process.
3. Draw a Line Close to One Edge of the Cardboard
Start by measuring and drawing a straight line about 1 to 2 inches from one edge of the cardboard. This line will serve as one side of the box and will help keep the box’s sides even when folded. Use a ruler to ensure that the line is perfectly straight.

4. Divide the Remaining Length into Four Sections
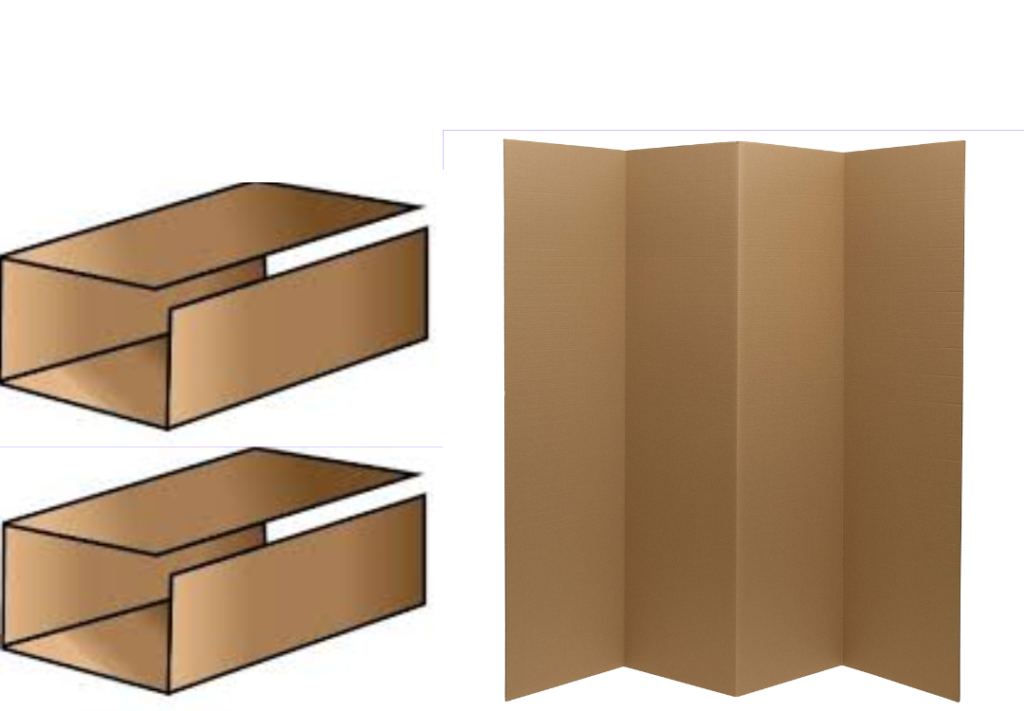
Measure the remaining length of the cardboard after your first line and divide it into four equal sections. These sections will form the sides of your box. Mark the divisions clearly so that each side of the box is of equal width.
- Tip: If your box needs a lid, make one of the sections slightly longer to create a tuck-in flap.
5. Score the Lines if Using Thick Cardboard
For thicker cardboard, scoring the lines where you will fold helps create clean, sharp edges. Use a sharp object such as a utility knife or a box cutter, but don’t cut all the way through—just score the surface. This makes it easier to fold the sides without tearing the cardboard.
6. Bend the Sides
After scoring the lines, carefully bend the cardboard along each of the four sections. This is where the box will start to take shape. Bend each section upwards at a 90-degree angle to form the walls of your box.
7. Draw the Flaps Perpendicular to the Sides
Next, it’s time to create the flaps for the base and top of your box. On one side of the cardboard, draw flaps that are perpendicular to the sides of the box. These flaps will be folded inward to secure the bottom of your box.
- Tip: Make sure the flaps are long enough to overlap slightly for added stability when taped or glued.
8. Cut Each Flap
Carefully cut along the lines you drew for the flaps, separating each one from its adjacent side. This step prepares the flaps for folding and taping.
- Tip: Be precise when cutting the flaps, as uneven cuts can make it harder to fold the box neatly later on.
9. Fold and Tape the Four Sides Together
Now, fold all four sides of the box together. Use strong adhesive tape to secure the edges of the sides where they meet. Make sure to apply enough tape to keep the box sturdy, especially if it will be used to hold heavier items.
- Tip: Use double-sided tape or glue for a cleaner, seamless finish if you’re looking for an aesthetically appealing final product.
10. Fold the Base of the Box
Once the sides are secured, fold the flaps at the bottom of the box inward. Use tape or glue to hold them in place. This creates the base of the box, ensuring it stays closed and sturdy during use.
- Tip: Reinforce the base with additional layers of tape if the box will carry heavy items.
11. Tuck the Top Flaps Together
Finally, for the top of the box, fold the remaining flaps inward. If your box is meant to stay closed, you can tape or glue the top flaps. Alternatively, you can leave the top flaps untaped to create a reclosable box.
- Tip: For a more polished look, create interlocking flaps by cutting slits into them so they can tuck into each other without tape.
Final Verdict
Making your own cardboard box is a simple and versatile craft that can be adapted to different uses, whether it’s for personal packaging projects or cosmetic packaging for small business. By following these 11 steps, you can easily create sturdy, reliable boxes that suit your needs. Plus, cardboard is a sustainable material, making it a great option for eco-conscious packaging. Whether you’re making small soap sleeves or larger boxes for shipping, cardboard offers flexibility and customization.


